Disassembly [12/2019 - 10/2022]: Procedure
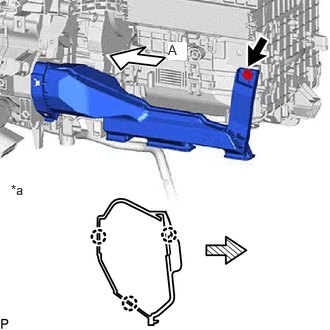
- REMOVE NO. 3 AIR DUCT SUB-ASSEMBLY
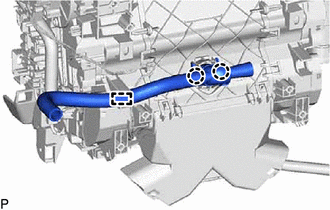
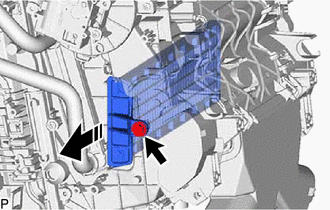
- REMOVE ASPIRATOR
- REMOVE BLOWER ASSEMBLY
Refer to PROCEDURE - Step 3
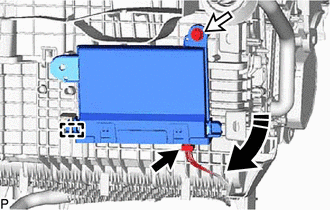
- REMOVE AIR CONDITIONING AMPLIFIER ASSEMBLY
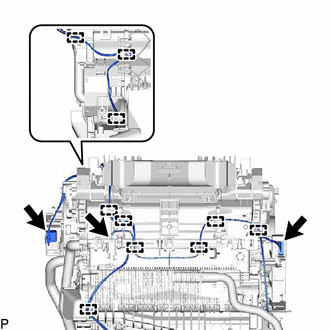
- REMOVE AIR CONDITIONING HARNESS ASSEMBLY
- REMOVE HEATER COVER
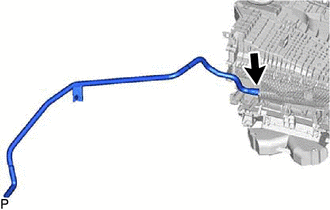
- REMOVE DRAIN COOLER HOSE
- REMOVE NO. 1 AIR CONDITIONING RADIATOR DAMPER SERVO SUB-ASSEMBLY
- REMOVE NO. 2 AIR CONDITIONING RADIATOR DAMPER SERVO SUB-ASSEMBLY
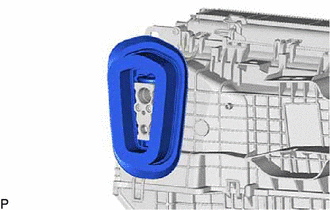
- REMOVE HEATER GROMMET
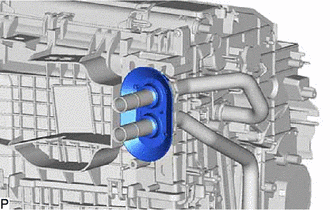
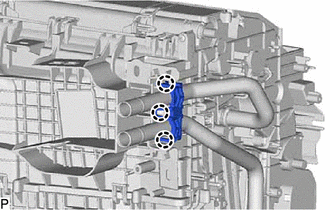
- REMOVE HEATER CLAMP
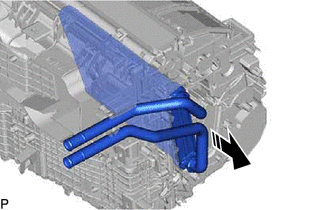
- REMOVE HEATER RADIATOR UNIT SUB-ASSEMBLY
- REMOVE COOLING UNIT PARTS
- REMOVE COOLER EXPANSION VALVE
- REMOVE NO. 1 COOLER EVAPORATOR SUB-ASSEMBLY
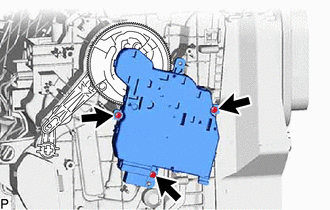
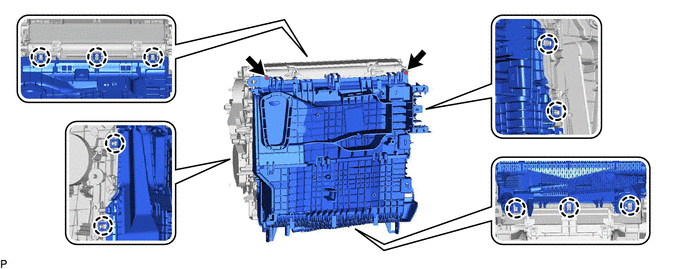
- Remove the 2 screws.
- Disengage the 10 claws to remove the upper heater case with No. 1 cooler evaporator sub-assembly from the lower heater case.
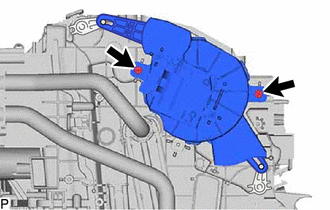
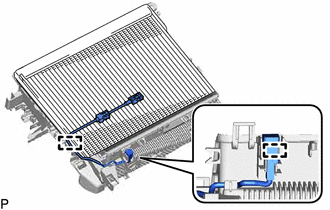
- Disengage the 2 clamps.
- Remove the No. 1 cooler evaporator sub-assembly with No. 1 cooler thermistor from the upper heater case.NOTE:
When the No. 1 cooler evaporator sub-assembly is removed, make sure to install a new one. The No. 1 cooler evaporator sub-assembly cannot be reused.
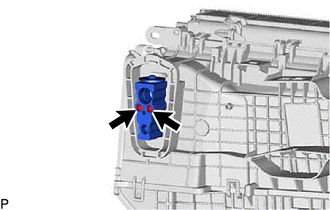
- Remove the 2 screws.
- REMOVE NO. 1 COOLER THERMISTOR
Refer to PROCEDURE - Step 10