Removal [12/2019 - ]: Procedure
- REMOVE FRONT FENDER MUDGUARD (w/ Mudguard)
Refer to PROCEDURE - Step 1
- REMOVE FRONT FENDER WHEEL OPENING MOULDING SUB-ASSEMBLY
HINT:
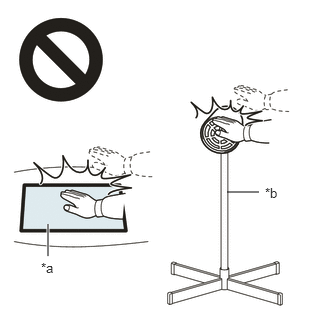
When removing the front fender wheel opening moulding sub-assembly, heat the vehicle body and front fender wheel opening moulding sub-assembly using a heat light.
Heating Temperature
Item Temperature Front Fender Wheel Opening Moulding Sub-assembly and Vehicle Body 40 to 60°C (104 to 140°F) WARNING:- Do not touch the heat light and heated parts, touching the heat light may result in burns.
- Touching heated parts for a long time may result in burns.
*a Heated Part *b Heat Light NOTE:Do not heat the vehicle body and front fender wheel opening moulding sub-assembly excessively.
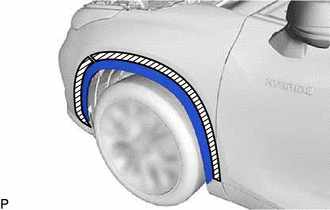
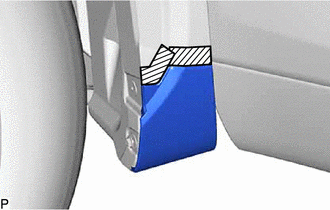
- Apply protective tape around the front fender wheel opening moulding sub-assembly as shown in the illustration.

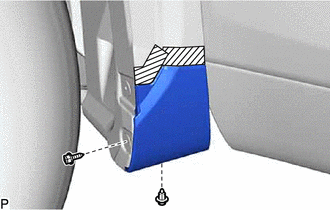
Protective Tape - Remove the 5 clips.
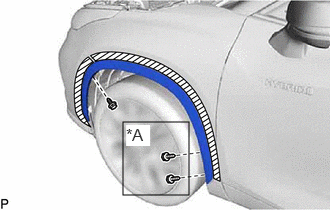
- Remove each screw.
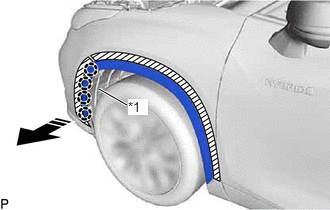
*A w/o Mudguard - Pull back the edge of the front fender liner and disengage the 4 claws by pushing the area indicated by the arrow in the illustration with a finger.
*1 Front Fender Liner LH 
Remove in this Direction NOTE:- Do not apply excessive force when pulling back the front fender liner.
- To avoid damaging the claws, do not forcibly pull the front fender wheel opening moulding sub-assembly.
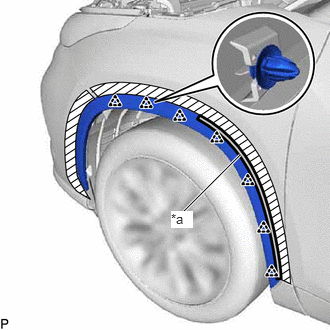
- Using a heat light, heat the vehicle body and front fender wheel opening moulding sub-assembly.
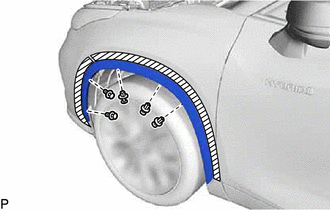
- Disengage the 7 clips and separate the double-sided tape to remove the front fender wheel opening moulding sub-assembly.
*a Double-sided Tape
- REMOVE FRONT FENDER MOULDING SUB-ASSEMBLY
HINT:
- Perform this procedure only when replacement of the front fender moulding sub-assembly is necessary.
- When removing the front fender moulding sub-assembly, heat the vehicle body and front fender moulding sub-assembly using a heat light.
Heating Temperature
Item Temperature Front Fender Moulding Sub-assembly and Vehicle Body 40 to 60°C (104 to 140°F) WARNING:- Do not touch the heat light and heated parts, touching the heat light may result in burns.
- Touching heated parts for a long time may result in burns.
*a Heated Part *b Heat Light NOTE:Do not heat the vehicle body and front fender moulding sub-assembly excessively.
- Apply protective tape around the front fender moulding sub-assembly as shown in the illustration.
Protective Tape - w/o Mudguard:
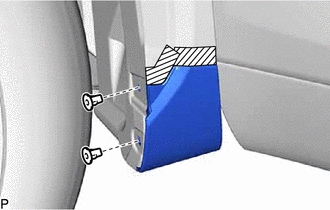
- Remove the 2 grommets.
- Using a heat light, heat the vehicle body and front fender moulding sub-assembly.
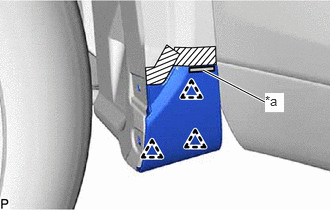
- Disengage the 3 clips and separate the double-sided tape to remove the front fender moulding sub-assembly.
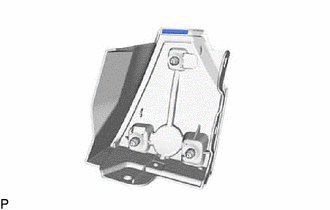
*a Double-sided Tape - Remove the 3 clips from the front fender moulding sub-assembly.
- REMOVE FRONT FENDER UPPER OUTSIDE MOULDING PAD
HINT:
Perform this procedure only when replacement of the front fender upper outside moulding pad is necessary.