Disassembly [10/2022 - ]: Procedure
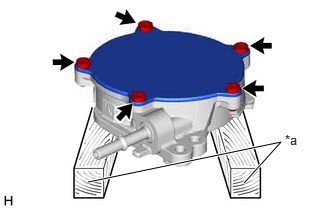
- REMOVE END COVER
- To prevent the coupling of the vacuum pump assembly from contacting the workbench, support the vacuum pump assembly with wooden blocks or an equivalent object.
*a Wooden Block - Using a T30 "TORX" socket wrench, remove the 5 screws and end cover.NOTE:
- Hold the pump so that the pump installation surface and fitting parts will not be damaged.
- As the housing deforms when force is applied, do not secure the housing with a tool such as a vise.
- Securely fit the T30 "TORX" socket wrench to the screws.
- Do not drop the end cover.
- Do not damage the end cover.
- As there will be a small amount of oil remaining in the vacuum pump housing, be careful not to spill the oil when removing the end cover.
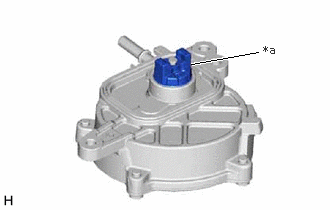
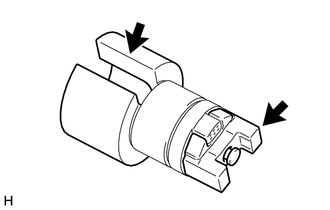
- Do not rotate the coupling as oil remaining in the vacuum pump housing may be discharged.
*a Do not rotate the coupling. - As the vacuum pump vane cap may become damaged, do not rotate the coupling counterclockwise.
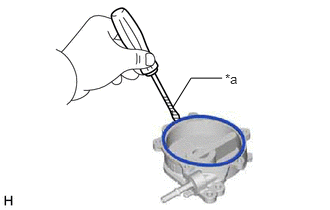
- Using a screwdriver with its tip wrapped with protective tape, remove the vacuum pump cover O-ring.
*a Protective Tape NOTE:Do not damage the groove.
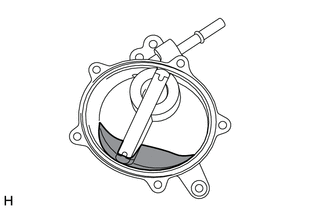
- Check that there is no foreign matter in the engine oil remaining in the vacuum pump housing.
If there is foreign matter, replace the vacuum pump assembly.

Engine Oil
- To prevent the coupling of the vacuum pump assembly from contacting the workbench, support the vacuum pump assembly with wooden blocks or an equivalent object.
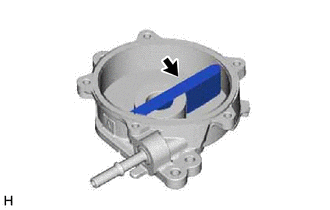
- REMOVE VACUUM PUMP VANE AND VACUUM PUMP VANE CAP
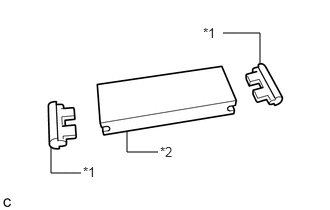
- Remove the vacuum pump vane together with the 2 vacuum pump vane caps.
- Remove the 2 vacuum pump vane caps from the vacuum pump vane.
*1 Vacuum Pump Vane Cap *2 Vacuum Pump Vane - Check that there is no damage such as cracks or fractures in the vacuum pump vane and vacuum pump vane cap.
If there is damage, replace the vacuum pump assembly.
- Remove the vacuum pump vane together with the 2 vacuum pump vane caps.
- REMOVE VACUUM PUMP ROTOR
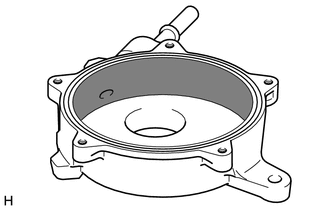
- INSPECT VACUUM PUMP HOUSING
- Check that there is no foreign matter in the vacuum pump housing.
If there is foreign matter, replace the vacuum pump assembly.
Contact Surface of Vacuum Pump Vane Cap - Visually inspect the contact surface of the vacuum pump vane cap of the vacuum pump housing.
If there is damage, replace the vacuum pump assembly.
- Check that there is no foreign matter in the vacuum pump housing.