Reassembly [10/2022 - ]: Procedure
- CLEAN VACUUM PUMP HOUSING
- Clean the inside surface of the vacuum pump housing.
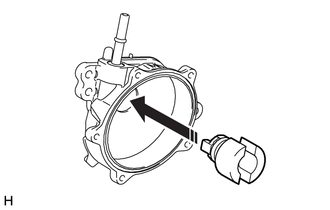
- INSTALL VACUUM PUMP ROTOR
- INSTALL VACUUM PUMP VANE AND VACUUM PUMP VANE CAP
- Apply engine oil to a new vacuum pump vane and 2 new vacuum pump vane caps and install the vacuum pump vane caps to the vacuum pump vane.
- Apply engine oil to the vacuum pump vane with the 2 vacuum pump vane caps and install it to the vacuum pump housing.
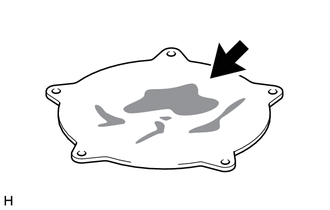
- INSTALL END COVER
- Clean the inside surface of the end cover.
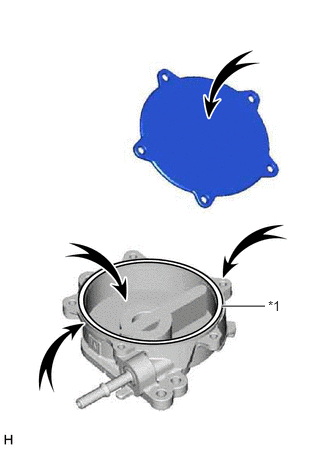
- Install a new vacuum pump cover O-ring to the vacuum pump housing.
*1 Vacuum Pump Cover O-ring NOTE:- Wipe off any oil on the end cover installation surface and end cover.
- Check that no foreign matter is on the vacuum pump cover O-ring or inside the vacuum pump housing.
- Using a T30 "TORX" socket wrench, install the end cover with 5 new screws.
Torque: 7.5 N.m (76 kgf/cm, 66 in.lbf)
NOTE:- Hold the pump so that the pump installation surface and fitting parts will not be damaged.
- As the housing deforms when force is applied, do not secure the housing with a tool such as a vise.
- Securely fit the T30 "TORX" socket wrench to the screws.
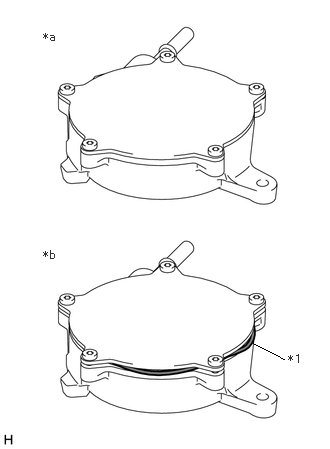
- After installing the end cover, check that the vacuum pump cover O-ring is not caught.
*1 Vacuum Pump Cover O-ring *a Correct *b Incorrect
- Clean the inside surface of the end cover.
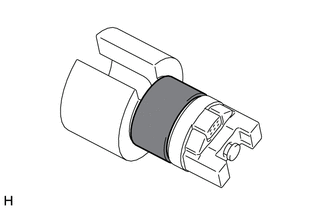
- INSPECT VACUUM PUMP ASSEMBLY
- While looking from the coupling side of the vacuum pump assembly, rotate the coupling clockwise.
*1 Coupling *a Correct *b Incorrect Standard
Rotates without locking.
NOTE:- As the vacuum pump vane cap may become damaged, do not rotate the coupling counterclockwise.
- Even if rotation fluctuates between heavy and light, it is not a malfunction unless the coupling locks.
- While looking from the coupling side of the vacuum pump assembly, rotate the coupling clockwise.