Disassembly [12/2019 - 10/2022]: Procedure
- REMOVE PISTON SUB-ASSEMBLY WITH CONNECTING ROD
- Check that the matchmarks on the connecting rod and connecting rod cap are aligned.
HINT:
The matchmarks on the connecting rod and connecting rod cap are guides for correct reassembly.
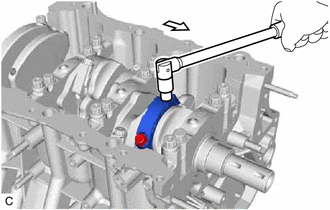
- Remove the 2 connecting rod bolts.

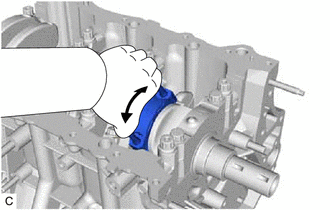
Front of Engine - Using the 2 removed connecting rod bolts, remove the connecting rod cap and lower connecting rod bearing by wiggling the connecting rod cap right and left.
HINT:
Keep the lower connecting rod bearing installed to the connecting rod cap.
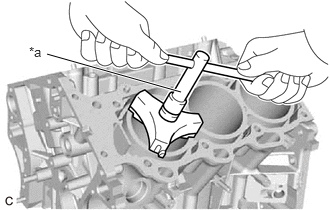
- Using a ridge reamer, remove all of the carbon from the top of the cylinder.
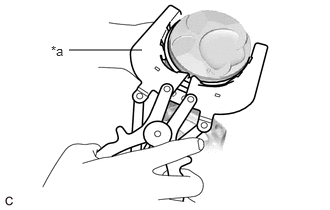
*a Ridge Reamer - Push the piston, connecting rod sub-assembly and upper connecting rod bearing through the top of the cylinder block sub-assembly.
HINT:
- Keep the connecting rod bearing, connecting rod sub-assembly and connecting rod cap together.
- Arrange the removed parts in such a way that they can be reinstalled to their original locations.
- Check that the matchmarks on the connecting rod and connecting rod cap are aligned.
- REMOVE CONNECTING ROD BEARING
- Remove the connecting rod bearings from the connecting rod sub-assembly and connecting rod cap.
HINT:
Arrange the removed parts in such a way that they can be reinstalled to their original locations.
- Remove the connecting rod bearings from the connecting rod sub-assembly and connecting rod cap.
- REMOVE PISTON RING SET
- REMOVE PISTON
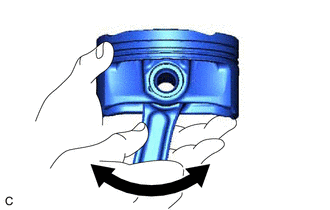
- Check the fitting condition between the piston and piston pin.
- Try to move the piston back and forth on the piston pin.
HINT:
If abnormal movement is felt, replace the piston and piston pin as a set.
- Try to move the piston back and forth on the piston pin.
- Remove the connecting rod sub-assembly from the piston.
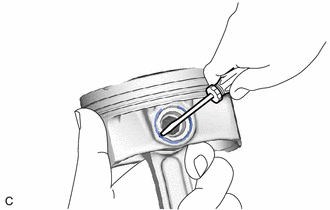
- Using a screwdriver, pry out the piston pin hole snap ring (front side).NOTE:
- Do not remove the piston pin hole snap ring (rear side) unless it has to be replaced.
- Be careful not to damage the piston when removing the piston pin hole snap ring (rear side).
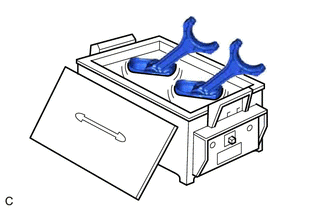
- Gradually heat the piston to approximately 80°C (176°F).WARNING:
Be sure to wear protective gloves.
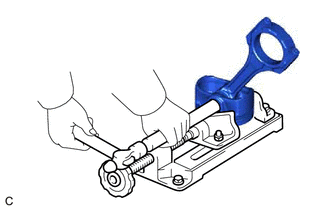
- Using a brass bar and a hammer, lightly tap out the piston pin and remove the connecting rod sub-assembly.
HINT:
- The piston and piston pin are a matched set.
- Arrange the removed parts in such a way that they can be reinstalled to their original locations.
- Using a screwdriver, pry out the piston pin hole snap ring (front side).
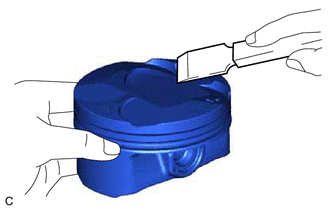
- Using a gasket scraper, remove any carbon from the piston top.NOTE:
Be careful not to scratch the piston.
- Using a groove cleaning tool or a broken ring, clean the piston ring grooves.
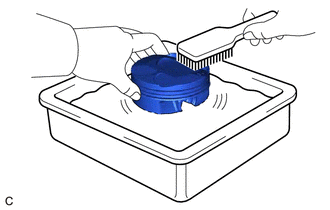
- Using solvent and a brush, thoroughly clean the piston.NOTE:
Do not use a wire brush.
- Check the fitting condition between the piston and piston pin.
- REMOVE CRANKSHAFT
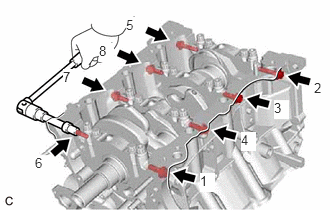
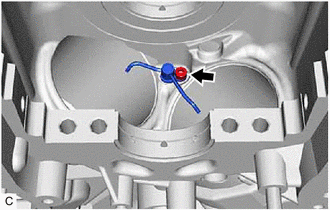
- Uniformly loosen and remove the 8 crankshaft bearing cap set bolts and 8 seal washers in several steps in the order shown in the illustration.
- Uniformly loosen the 16 crankshaft bearing cap set bolts in several steps in the order shown in the illustration.
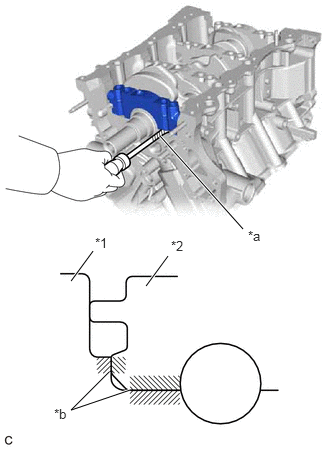
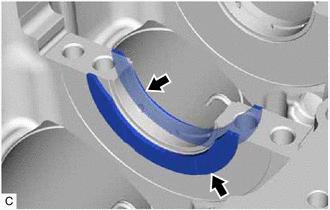
- Using a screwdriver with its tip wrapped with protective tape, pry out the crankshaft bearing caps. Remove the 4 crankshaft bearing caps and 4 lower crankshaft bearings as a set.
*1 Cylinder Block Sub-assembly *2 Crankshaft Bearing Cap *a Protective Tape *b Contact Surface NOTE:- Push up the crankshaft bearing cap slowly and evenly, alternating between the right and left side so that the crankshaft bearing cap can be removed.
- Be careful not to damage the contact surfaces of the cylinder block sub-assembly and the crankshaft bearing cap.
- Remove the crankshaft.
- REMOVE CRANKSHAFT BEARING
- Remove the upper crankshaft bearings and lower crankshaft bearings.
HINT:
Arrange the removed parts in such a way that they can be reinstalled to their original locations.
- Remove the upper crankshaft bearings and lower crankshaft bearings.
- REMOVE CRANKSHAFT THRUST WASHER SET
- REMOVE NO. 1 OIL NOZZLE SUB-ASSEMBLY