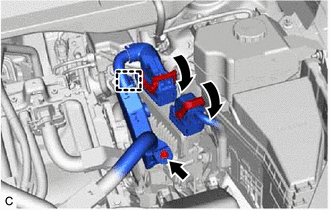
Installation [11/2023 - ]: Procedure
WARNING: This page is about a different variant/trim than selected.
- INSTALL NO. 2 ECM BRACKET
- Install the No. 2 ECM bracket to the ECM with the 2 screws.
Torque: 4.5 N.m (46 kgf/cm, 40 in.lbf)
- Install the No. 2 ECM bracket to the ECM with the 2 screws.
- INSTALL NO. 1 ECM BRACKET
- Install the No. 1 ECM bracket to the ECM with the 2 screws.
Torque: 4.5 N.m (46 kgf/cm, 40 in.lbf)
- Install the No. 1 ECM bracket to the ECM with the 2 screws.
- INSTALL ECM
- Install the ECM with the bolt and 2 nuts.
Torque: 8.0 N.m (82 kgf/cm, 71 in.lbf)
NOTE:If the ECM has been struck or dropped, replace it.
- Engage the clamp.
- Install the engine wire to the No. 1 ECM bracket with the bolt.
Torque: 10 N.m (102 kgf/cm, 7 ft.lbf)
- Connect the 2 ECM connectors and rotate the 2 levers to lock them.NOTE:
- When connecting the ECM connectors, make sure that the connecting parts of the ECM connectors are free of dirt, water and other foreign matter.
- Be sure to securely connect the ECM connectors.
- Install the ECM with the bolt and 2 nuts.
- CONNECT CABLE TO NEGATIVE AUXILIARY BATTERY TERMINAL
Refer to PROCEDURE - Step 2
- INSTALL BATTERY SERVICE HOLE COVER
Refer to PROCEDURE - Step 3
- VEHICLE IDENTIFICATION NUMBER (VIN) REGISTRATION
Refer to PROCEDURE - Step 1
- UPDATE ECU SECURITY KEY
Refer to UPDATE ECU SECURITY KEY [11/2023 - ]
- INITIALIZATION AFTER RECONNECTING AUXILIARY BATTERY TERMINAL
HINT:
When disconnecting and reconnecting the auxiliary battery, there is an automatic learning function that completes learning when the respective system is used.