Removal [12/2019 - ]: Procedure
- REMOVE REAR WIPER MOTOR ASSEMBLY
Refer to REMOVAL [12/2019 - ]
- REMOVE BACK DOOR GLASS NOTE:
- After cutting off the old adhesive remaining on the adhesion surface, apply new adhesive within 2 hours.
- If the cut surface of the old adhesive is left exposed for a long time, the adhesion strength will be reduced, so apply the new adhesive quickly.
- Disconnect each connector.
- Apply protective tape to the area around the installation position of the back door glass on the back door panel to prevent it from being scratched.

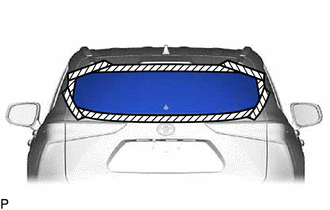
Protective Tape - Pass a piano wire between the back door panel and back door glass from the exterior.
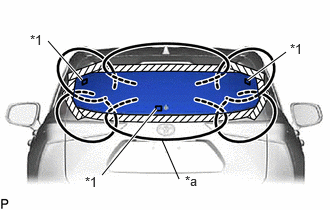
*1 Back Window Glass Clip *a Piano Wire - Tie both wire ends to wooden blocks or similar objects that can serve as handles.
- Cut the adhesive by pulling the piano wire around the back door glass.NOTE:
- When separating the back door glass, take care not to damage the paint or interior and exterior ornaments.
- When cutting the adhesive, take care not to damage the connectors on the back door glass.
- Do not pull the piano wire in a vertical direction, but pull it in a horizontal direction.
- After cutting off the old adhesive remaining on the adhesion surface, apply new adhesive within 2 hours.
- If the cut surface of the old adhesive is left exposed for a long time, the adhesion strength will be reduced, so apply the new adhesive quickly.
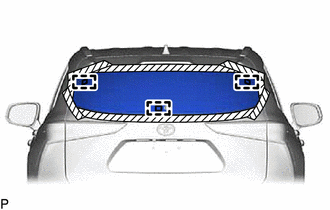
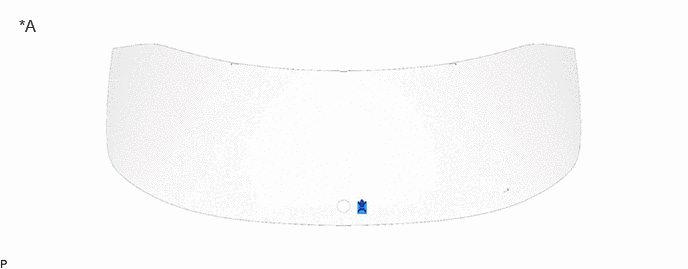
- Using suction cups, disengage the 3 back window glass clips and remove the back door glass.NOTE:
- To prevent the back door glass from falling when performing this operation, be sure to hold the back door glass using suction cups.
- Be careful not to drop the back door glass.
- Leave as much adhesive on the back door panel as possible when removing the back door glass.
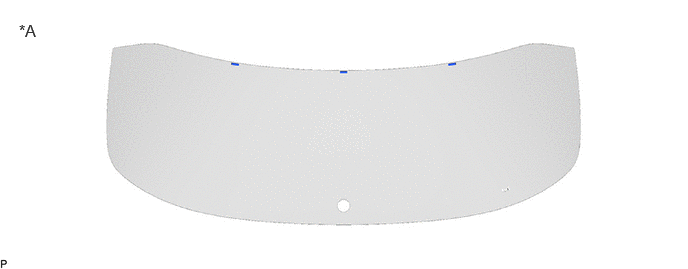
- REMOVE BACK WINDOW OUTSIDE MOULDING
- REMOVE BACK WINDOW OUTSIDE MOULDING CLIP LH
- REMOVE BACK WINDOW OUTSIDE MOULDING CLIP RH
HINT:
Use the same procedure as for the LH side.
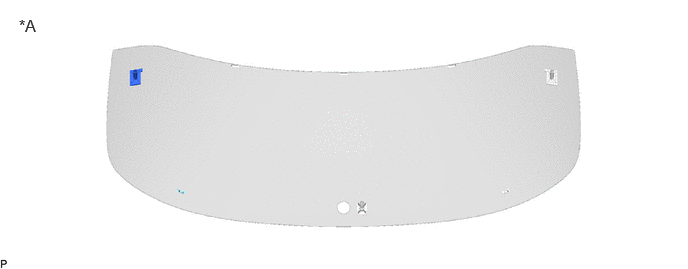
- REMOVE BACK WINDOW GLASS CLIP
- REMOVE BACK DOOR GLASS SPACER
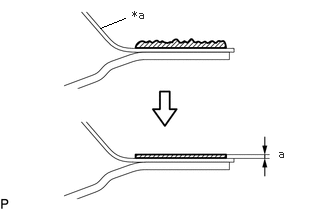
- CLEAN BACK DOOR PANEL
- Clean and shape the contact surfaces of the back door panel.
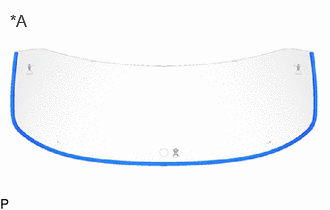
- Using a knife, cut off any excess adhesive on the contact surfaces of the back door panel as shown in the illustration.
*a Back Door Panel Adhesive Standard Dimension
Area Dimension a 1.0 mm (0.0394 in.) or more NOTE:Be careful not to damage the back door panel.
HINT:
Leave as much adhesive on the back door panel as possible.
- Clean the contact surfaces of the back door panel with a piece of cloth saturated with non-residue solvent.
HINT:
Even if all of the adhesive has been removed, clean the back door panel.
- Using a knife, cut off any excess adhesive on the contact surfaces of the back door panel as shown in the illustration.
- Clean and shape the contact surfaces of the back door panel.