Removal [12/2019 - 10/2022]: Procedure
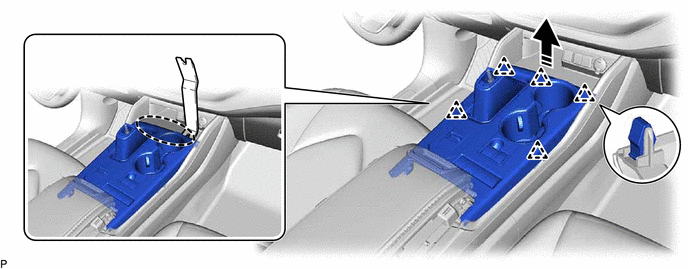
- REMOVE NO. 2 CONSOLE BOX CUSHION
- REMOVE CONSOLE BOX CUSHION
- REMOVE FRONT CONSOLE BOX COVER
- REMOVE SHIFT LEVER KNOB SUB-ASSEMBLY
for UA80E: Refer to PROCEDURE - Step 1
for UA80F: Refer to PROCEDURE - Step 1
for P810: Refer to PROCEDURE - Step 1
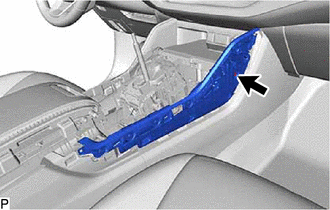
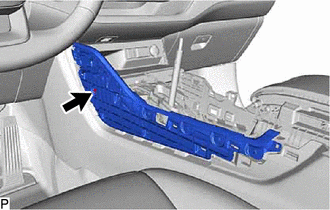
- REMOVE CONSOLE PANEL SUB-ASSEMBLY
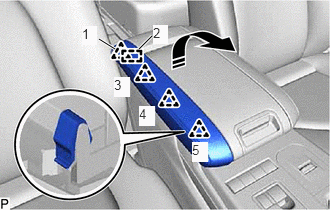
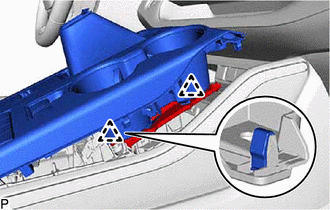
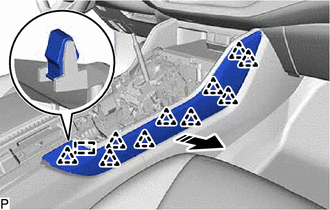
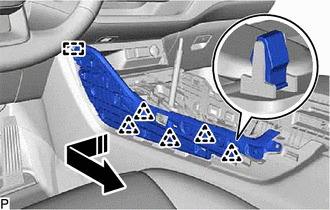
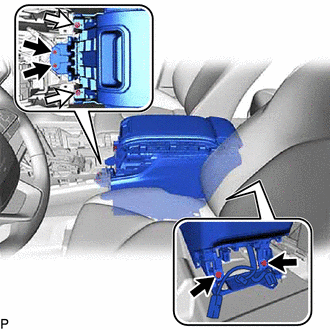
- Using a moulding remover, disengage the 5 clips as shown in the illustration.

Insert Moulding Remover Here 
Remove in this Direction - Disengage the 2 clips.
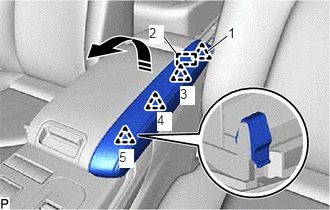
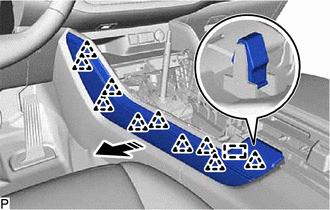
- Disengage the 2 guides as shown in the illustration.
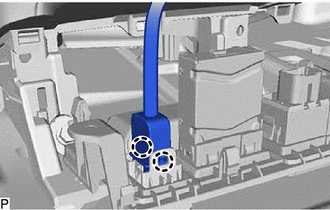
Remove in this Direction - Disconnect each connector to remove the console panel sub-assembly.
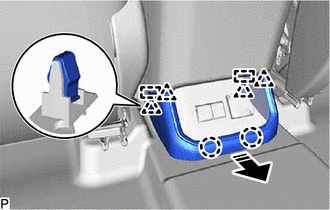
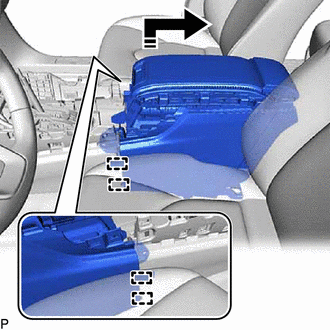
- Using a moulding remover, disengage the 5 clips as shown in the illustration.
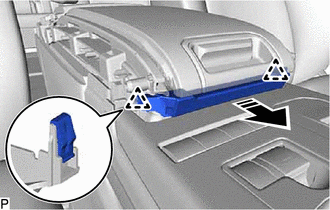
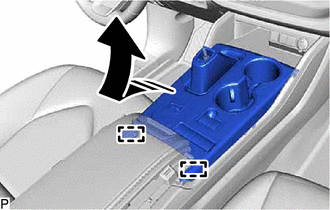
- REMOVE CONSOLE BOX CUP HOLDER
- REMOVE NO. 1 LOWER INSTRUMENT PANEL PAD SUB-ASSEMBLY
- REMOVE NO. 2 LOWER INSTRUMENT PANEL PAD SUB-ASSEMBLY
- REMOVE NO. 1 INSTRUMENT PANEL GARNISH SUB-ASSEMBLY
- REMOVE NO. 2 INSTRUMENT PANEL GARNISH SUB-ASSEMBLY
- REMOVE REAR CONSOLE LOWER BOX
- w/o Rear Seat Entertainment System:
- w/ Rear Seat Entertainment System:
- REMOVE NO. 2 CONSOLE BOX HOLE COVER
- w/o Rear Seat Entertainment System:
- w/ Rear Seat Entertainment System:
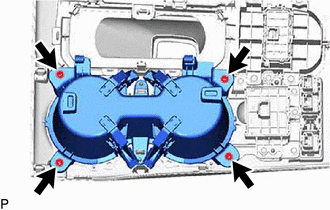
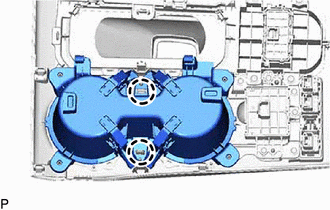
- REMOVE CONSOLE BOX ASSEMBLY