Removal [12/2019 - 10/2022]: Procedure
- PRECAUTION WARNING:
Be sure to read Precaution thoroughly before servicing.
Refer to PRECAUTION [12/2019 - 11/2023]
NOTE:After turning the ignition switch off, waiting time may be required before disconnecting the cable from the negative (-) auxiliary battery terminal. Therefore, make sure to read the disconnecting the cable from the negative (-) auxiliary battery terminal notices before proceeding with work.
- REMOVE ROOF HEADLINING ASSEMBLY
Refer to REMOVAL [12/2019 - 10/2022]
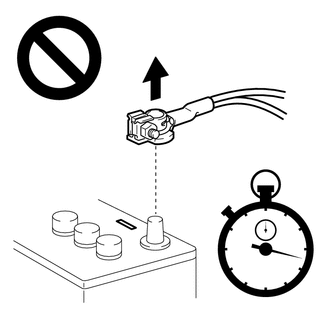
- DISCONNECT CABLE FROM NEGATIVE AUXILIARY BATTERY TERMINAL
for 2GR-FKS: Refer to PROCEDURE - Step 1
for A25A-FXS: Refer to PROCEDURE - Step 2
WARNING:Wait at least 90 seconds after disconnecting the cable from the negative (-) auxiliary battery terminal to disable the SRS system.
NOTE:When disconnecting the cable, some systems need to be initialized after the cable is reconnected.
Refer to INITIALIZATION [12/2019 - 09/2020] , or refer to INITIALIZATION [09/2020 - 10/2021] , or refer to INITIALIZATION [10/2021 - 10/2022]
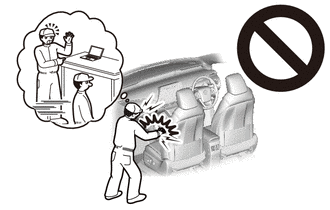
- REMOVE CURTAIN SHIELD AIRBAG ASSEMBLY WARNING:
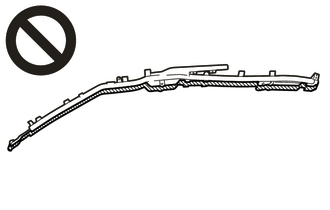
When storing the curtain shield airbag assembly, keep the airbag deployment side facing upward.

Deployment Side NOTE:When removing the curtain shield airbag assembly, have assistants hold it to prevent it from bending.
- Check that the ignition switch is off.
- Check that the cable is disconnected from the negative (-) auxiliary battery terminal.WARNING:
Wait at least 90 seconds after disconnecting the cable from the negative (-) auxiliary battery terminal to disable the SRS system.
- Disconnect the airbag connector.NOTE:
When disconnecting any airbag connector, take care not to damage the airbag wire harness.
HINT:
Refer to How to Connect or Disconnect Airbag Connector.
Refer to HOW TO CONNECT OR DISCONNECT AIRBAG CONNECTOR [12/2019 - 11/2023]
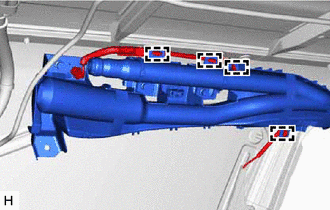
- Disengage the 4 clamps to disconnect the airbag wire harness.
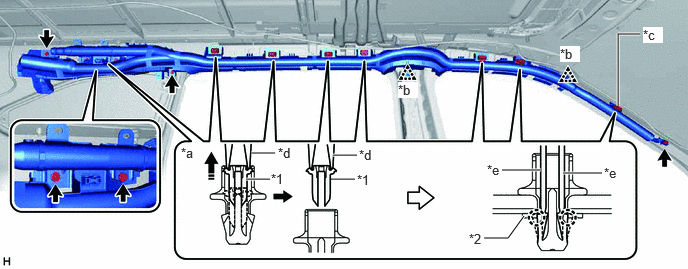
- Using a needle nose pliers No. 2 or equivalent, remove the 8 pins from the 8 clips (A).
*1 Pin *2 Spacer *a Clip (A) *b Clip (B) *c Spacer Location *d Needle Nose Pliers No. 2 *e Thin Screwdriver - - 
Remove in this Direction - - - Using 2 thin screwdrivers, disengage the 2 claws of each clip (A) and separate the 8 clips (A) from the vehicle body as shown in the illustration.
HINT:
Separate the 8 clips (A) and curtain shield airbag assembly from the vehicle body as a unit.
- Disengage the 2 clips (B).
- While holding the curtain shield airbag assembly, remove the 5 bolts and curtain shield airbag assembly.
- Remove the 8 clips (A) and the spacer from the curtain shield airbag assembly.