Removal [12/2019 - 10/2022]: Procedure
- DRAIN DIFFERENTIAL OIL
Refer to PROCEDURE - Step 1
- REMOVE PROPELLER WITH CENTER BEARING SHAFT ASSEMBLY
Refer to REMOVAL [12/2019 - 10/2022]
- REMOVE REAR DRIVE SHAFT ASSEMBLY
- Remove the rear drive shaft assembly LH and RH.
Refer to REMOVAL [12/2019 - 10/2022]
- Remove the rear drive shaft assembly LH and RH.
- REMOVE REAR STABILIZER BAR
Refer to PROCEDURE - Step 6
- REMOVE REAR DIFFERENTIAL CARRIER ASSEMBLY NOTE:
- Do not damage the contact surface when removing the rear differential carrier assembly.
- The remaining oil may leak out when removing the rear differential carrier assembly.
- Securely support the rear differential carrier assembly while performing this step to avoid excessively tilting or dropping the rear differential carrier assembly.
- Remove the bolts and nuts with the rear differential carrier assembly secured.
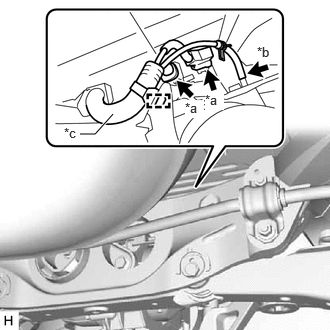
- Disconnect the 2 connectors and breather tube.
*a Connector *b Breather Tube *c Frame Wire - Disengage the clamp to disconnect the frame wire.
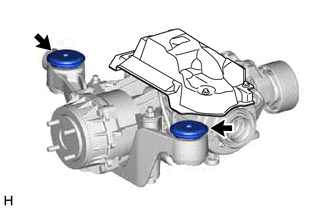
- Support the rear differential carrier assembly with a transmission jack using 2 attachments or equivalent tools as shown in the illustration.
*a Attachment - - 
Attachment Installation Position - - WARNING:The rear differential carrier assembly is a heavy component. Make sure that it is supported securely.
NOTE:Use attachments or equivalent tools to keep the rear differential carrier assembly level.
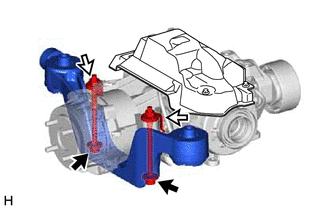
- Loosen the 2 bolts (A).
HINT:
Loosen the bolts only when removal of the rear No. 2 differential support is required.
- Remove the 4 bolts, 2 nuts and 2 rear lower differential mount stoppers.
HINT:
The nuts have tabs to prevent them from rotating.
- Lower the rear differential carrier assembly slowly to remove the rear differential carrier assembly.NOTE:
Move the transmission jack forward and backward as necessary to prevent the rear differential carrier assembly from contacting the rear suspension member sub-assembly.
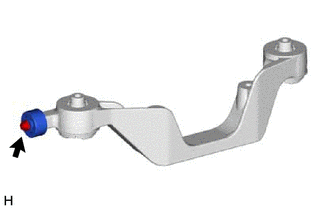
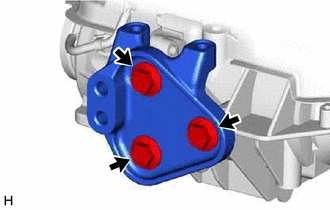
- REMOVE REAR NO. 2 DIFFERENTIAL SUPPORT
- REMOVE REAR DIFFERENTIAL DYNAMIC DAMPER
- REMOVE DIFFERENTIAL SUPPORT