Removal [12/2019 - ]: Procedure
- REMOVE REAR SEAT HEADREST ASSEMBLY
- Remove the rear seat headrest assembly.
- REMOVE REAR SEAT CENTER HEADREST ASSEMBLY
- Remove the rear seat center headrest assembly.
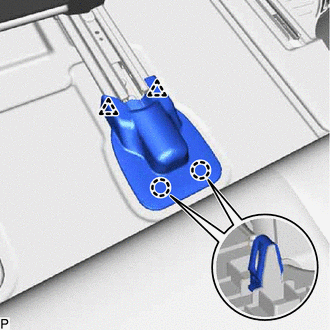
- REMOVE FRONT OUTER SEAT TRACK BRACKET COVER RH
- REMOVE FRONT INNER SEAT TRACK BRACKET COVER RH (for Gasoline Model)
HINT:
Use the same procedure as for the front outer seat track bracket cover RH.
- REMOVE FRONT INNER SEAT TRACK BRACKET COVER RH (for HV Model)
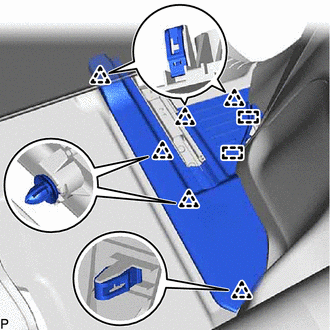
- REMOVE REAR INNER SEAT TRACK BRACKET COVER RH
- REMOVE REAR OUTER SEAT TRACK BRACKET COVER RH
- REMOVE REAR DOOR SCUFF PLATE RH
HINT:
Use the same procedure as for the LH side.
Refer to PROCEDURE - Step 14 [12/2019 - 10/2022] , or refer to PROCEDURE - Step 14 [10/2022 - ]
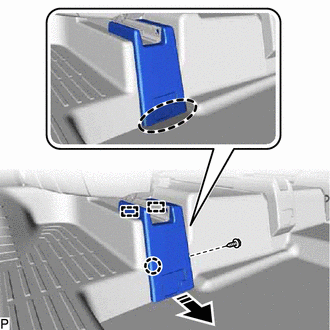
- REMOVE REAR NO. 1 SEAT ASSEMBLY RH
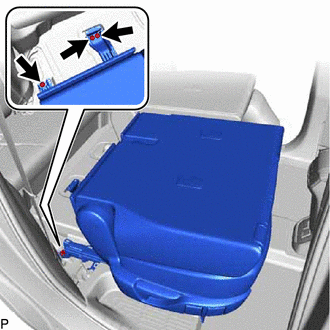
- Operate the seat track adjusting handle and move the rear No. 1 seat assembly RH to the rearmost position.
- Disconnect the connector.
- Remove the 2 bolts.
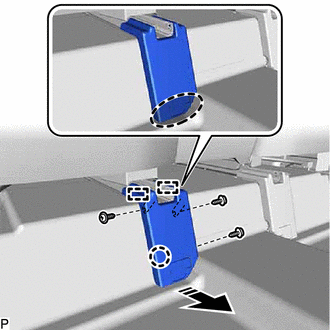
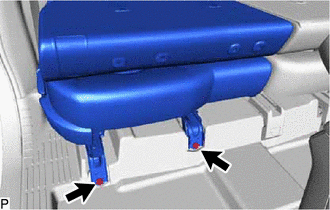
- Operate the seat track adjusting handle and move the rear No. 1 seat assembly RH to the foremost position.
- Remove the 3 bolts.
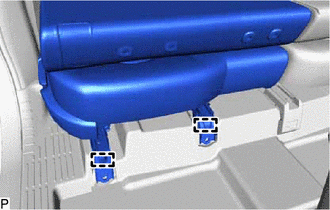
- Disengage the 2 pins and remove the rear No. 1 seat assembly RH.NOTE:
Be careful not to damage the rear No. 1 seat assembly RH, vehicle body or vehicle interior.